Hey there! Looking to give your tinted windows a good cleaning? We’ve got you covered! Cleaning tinted windows is a breeze when you know the right techniques. Not only will it keep your windows looking crystal clear, but it will also help maintain the longevity of the tint film.
However, cleaning them requires a gentle touch to avoid damaging the tint film. So, let’s dive into the world of window cleaning and discover how to clean windows with tint. From gathering the necessary supplies to using the right cleaning solution, we’ve got all the tips and tricks to ensure your cleaning process is effective.
So, buckle up as we take you through a step-by-step process on how to clean your tinted windows like a pro, without any worries of streaks or scratches.
How to Clean Windows With Tint Safely and Effectively
Now, let’s take a closer look at the steps involved in cleaning windows with tint. We’ll guide you through the process, making sure you have all the information you need to tackle this task with confidence. From selecting a cleaning solution to inspecting for streaks, we’ll cover each step in detail. So, let’s get started and make your tinted windows shine!
Selecting a Suitable Cleaning Solution
To begin, it’s important to choose a cleaning solution that is compatible with tinted windows. Consider the following options:
Homemade Cleaner
Create a DIY cleaner by combining baby soap and rubbing alcohol with distilled water. This concoction effectively disinfects the surface, aids in quick evaporation, and eliminates grease and oils.
Water and White Vinegar Mix
Opt for a simple solution by combining equal parts water and white vinegar. This natural cleanser not only ensures cleanliness but also helps combat odors.
Avoiding Ammonia-Based Cleaners
Stay away from cleaners containing ammonia, as they can cause the tint to peel or fade. Instead, select ammonia-free window cleaners specifically formulated for use on tinted windows, such as Sprayway, Ammonia-Free Windex, or ZEP.
Patch Test
Before applying any cleaner to all your windows, perform a patch test on a small, inconspicuous area to ensure it doesn’t cause discoloration or streaking.
Gathering Supplies
Soft, lint-free microfiber cloths
Microfiber cloths are essential for cleaning tinted windows because they are gentle and won’t scratch the delicate film. Look for soft and lint-free ones that will leave your windows streak-free and clear.
Tint-safe detergent or window cleaner
Choosing a detergent or window cleaner that is specifically labeled as safe for tinted windows is crucial. Regular cleaning products may contain harsh chemicals that can damage the tint film. So, opt for a tint-safe solution to ensure the longevity of your tint.
Spray bottle filled with clean water
Having a spray bottle filled with clean water makes it easier to apply the cleaning solution evenly on the window surface. It allows you to avoid the risk of using excessive moisture. Plus it gives you the ability to precisely regulate the amount of cleaning solution you spray onto the window surface.
Optional: Squeegee
While not necessary, a squeegee can be handy for removing excess moisture from the window surface. It helps to achieve a streak-free finish. If you don’t have a squeegee, don’t worry; you can still achieve great results without one.
Preparing the Cleaning Solution

Diluting the detergent or window cleaner as per instructions
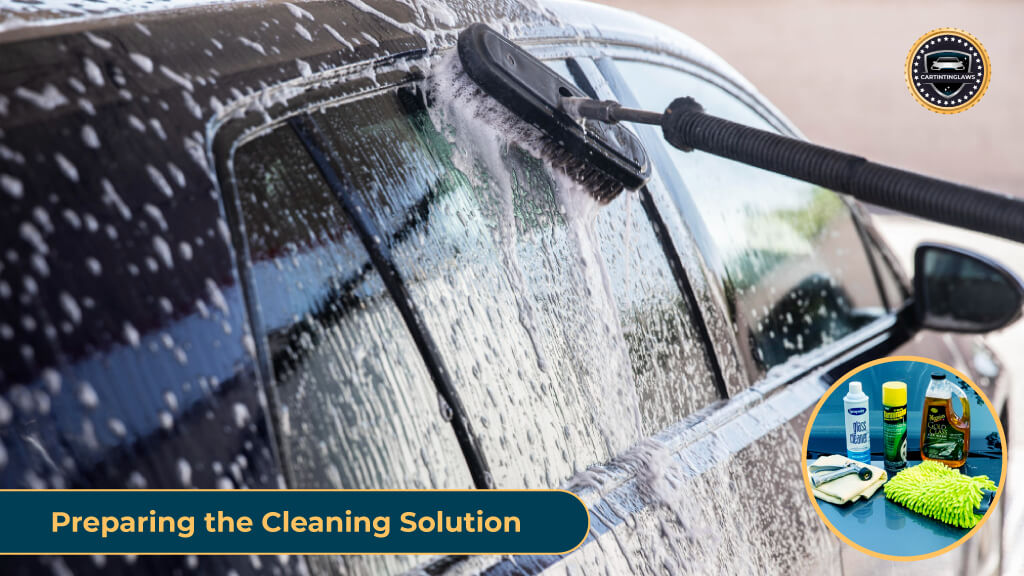
Carefully follow the instructions provided on the detergent or window cleaner label to determine the appropriate dilution ratio. Diluting the cleaning solution as instructed ensures it is properly mixed and ready for use. Using the correct concentration will maximize the cleaner’s effectiveness while maintaining the tint film’s safety. Carefully follow the instructions provided on the detergent or window cleaner label to determine the appropriate dilution ratio. Diluting the cleaning solution as instructed ensures it is properly mixed and ready for use. Using the correct concentration will maximize the cleaner’s effectiveness while maintaining the tint film’s safety.
Pour the solution into the spray bottle
Once you have diluted the cleaning solution, pour it into the spray bottle for convenient application. This way, you’ll have an easy-to-use spray that allows you to evenly distribute the cleaning solution on the tinted window. Pour the solution carefully to avoid spills or waste.
Cleaning Process
Lightly spraying the cleaning solution onto the tinted window
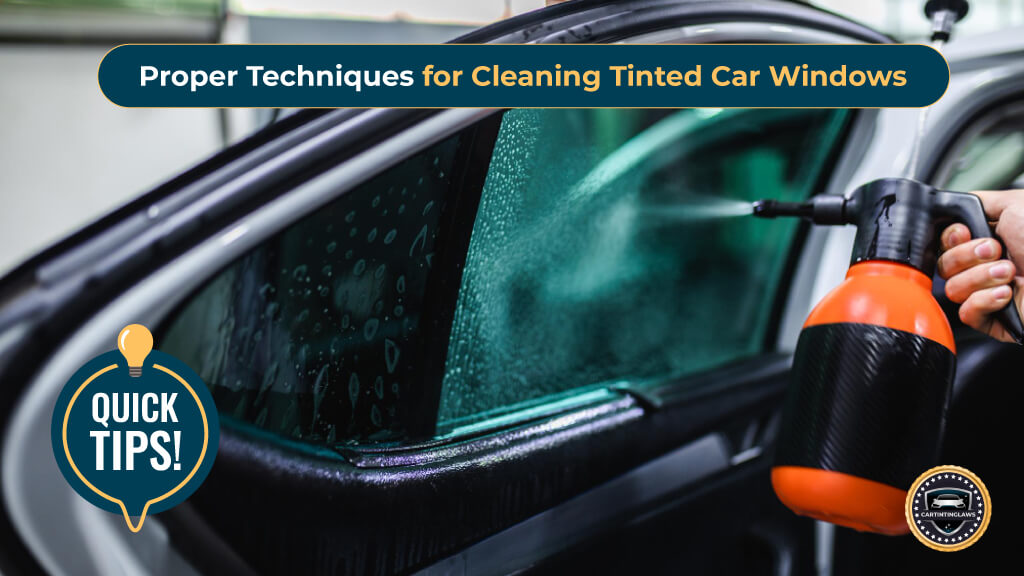
Hold the spray bottle a few inches away from the window surface and lightly mist the cleaning solution onto the glass. Aim for an even distribution, covering the entire window area. Avoid oversaturating the window, as excessive moisture can seep into the edges of the tint film, potentially causing damage.
Gently wipe the window in circular motions using a microfiber cloth
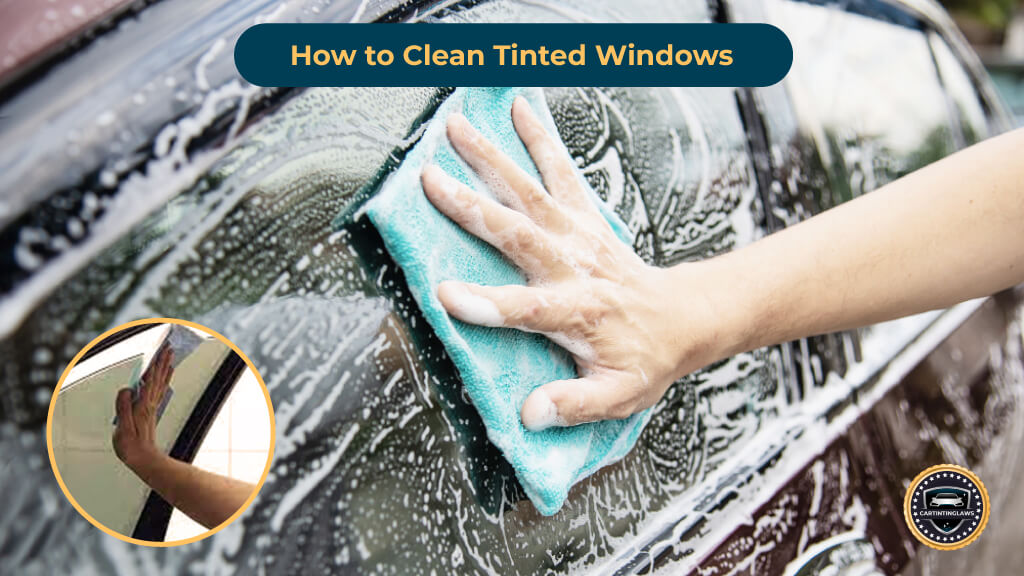
Take a soft microfiber cloth and begin wiping the window in gentle circular motions. Start from the top and work your way down, ensuring that you cover the entire surface of the window. The microfiber cloth’s soft and absorbent fibers will effectively lift dirt and grime from the glass without scratching the delicate tint film. Keep an eye out for any stubborn spots and spend a bit more time on them.
Paying attention to edges and corners
Edges and corners tend to accumulate more dirt and grime, so it’s important to give them some extra attention. Use a clean microfiber cloth or a cotton swab to thoroughly clean these areas. The edges and corners are also areas where the tint film is more vulnerable, so be gentle and take care not to disturb or lift the edges of the tint.
Using a clean cloth or cotton swab for detailed cleaning
For detailed cleaning or hard-to-reach spots, you can switch to a fresh microfiber cloth or a cotton swab. These tools allow you to tackle any stubborn spots or tight spaces with precision. Whether it’s a sticky residue or a small crevice, the detailed cleaning ensures that every part of your tinted window receives proper attention and care.
Optional: Removing excess moisture with a squeegee
If you have a squeegee, it can be helpful for removing excess moisture from the window surface. Starting from the top, gently glide the squeegee down the window, wiping away any remaining liquid. The rubber blade efficiently removes water and cleaning solution, leaving a streak-free finish. Hold the squeegee at a slight angle and apply gentle pressure as you move it down the glass.
Drying the window surface with a dry microfiber cloth
To ensure a completely dry and streak-free window, use a dry microfiber cloth to blot any remaining moisture. Lightly pat the window surface until it feels dry to the touch. This final step helps to achieve a pristine finish and removes any lingering streaks or spots.
Inspecting for Streaks or Spots
Observing the window for any streaks or spots after drying
Once the window is dry, take a step back and carefully inspect it for any streaks or spots that may have been missed during the cleaning process. It’s normal to overlook some areas, especially on larger windows, so this inspection step allows you to catch any imperfections.
Buffing affected areas gently with a dry microfiber cloth
If you notice any streaks or spots during the inspection, don’t worry! Simply grab a clean, dry microfiber cloth and gently buff the affected areas until the streaks or spots disappear. The soft fibers of the cloth will lift away any remaining residue, leaving you with a beautifully clean window.
Repeat if Necessary
Evaluating if the window requires another round of cleaning
In some cases, your tinted window may require a second cleaning session, especially if it was heavily soiled or if there are persistent streaks. Take a step back and evaluate whether the window meets your desired level of cleanliness. Trust your judgment and decide if it needs an additional round of cleaning.
Repeating the cleaning process while avoiding excessive scrubbing
If you decide to repeat the cleaning process, remember to be gentle and avoid excessive scrubbing. Follow the same techniques outlined earlier, ensuring that you maintain the integrity of the tint film throughout the process. It’s better to take your time and clean gently than to risk damaging the tint.
Proper Techniques for Cleaning Tinted Car Windows: Tips & Tricks

Finding Shade
Park your vehicle in a shaded area to prevent the cleaning agents from drying too quickly, which can lead to soap residue and streaks. A garage or a spot shielded from direct sunlight is ideal.
Cleaning Sequence
Prioritize cleaning other parts of your car before moving on to the windows. This prevents accidental splatters or dirt transfer, ensuring that your windows stay clean throughout the process.
Towel Application
Spray your chosen window tint cleaner onto a microfiber cloth and use it to wipe down the interior and exterior surfaces of your tinted windows. Pay attention to avoiding streaks as you go along.
Wiping Technique
Immediately after applying the cleaner, use a clean microfiber cloth to wipe away the solution. This prevents the cleaner from drying on its own, reducing the likelihood of streaks on the window surface.
Drying Method
Utilize a separate microfiber cloth dedicated solely to drying the windows. This will minimize the risk of scratching and leave you with a pristine, streak-free finish. Avoid using paper towels, as their rough texture can cause damage.
Use Gentle Tools
Opt for soft microfiber or lint-free cloths for cleaning. Avoid using rough materials like paper towels or abrasive sponges, as they can scratch the tint film.
Clean with Light Pressure
Gently wipe the tinted windows in a top-to-bottom or side-to-side motion, using light pressure. Avoid vigorous scrubbing or rubbing, as it can damage the tint film or create scratches.
Pay Attention to Edges and Corners
Make sure to clean the edges and corners of the windows thoroughly, as dirt tends to accumulate in these areas. Use a gentle touch and take your time to remove any residue.
Check for Streaks and Touch-ups
Inspect the windows for streaks or missed spots. If necessary, re-clean the affected areas using the same gentle techniques described above.
By incorporating these additional tips and tricks into the proper techniques for cleaning tinted car windows, you can achieve a thorough and streak-free cleaning process while preserving the integrity of the tint film.
Wrapping Up!
There you have it, now you know how to clean windows with tint! Cleaning tinted windows doesn’t have to be a daunting task. Cleaning windows with tint requires a bit of extra care, but it’s worth it to maintain the beauty and functionality of your tinted windows.
By using the right supplies and following the steps we’ve discussed, you can keep your tinted windows looking their best for years to come. Remember to prioritize gentle cleaning techniques to protect the delicate tint film. So go ahead and enjoy the benefits of your tinted windows while cruising around with a clear view and a touch of style.
