Are you tired of the darkened appearance of your car’s headlights due to tint film? Perhaps you’ve decided it’s time to restore their original clarity and brightness. Fortunately, removing tint from headlights is a relatively straightforward process that you can do yourself with the right tools and techniques. If you’re wondering “how to remove tint from headlights,” all you need is some patience, a few basic tools, and a step-by-step approach to safely and effectively peel off the tint film. Restoring your headlights to their clear and vibrant state can not only improve the aesthetics of your vehicle but also enhance visibility and safety during nighttime driving.
Removing the headlight tint becomes necessary when the warranty expires, the tint is damaged by harsh weather, or to meet state regulations. In this guide, we’ll provide step-by-step instructions on how to remove tint from headlights. It will help you remove the tint from your headlights, restoring their visibility and brightness safely and effectively.
General Method
How to remove tint from headlights effectively? Follow these general steps:
It’s important to note that removing tint from headlights is different from removing tint from windows. Headlights often have a protective clear coat or lens, and removing tint from them may require different methods. Here is a step-by-step guide specifically for headlight tint removal:
Gather the necessary tools and materials:
- Heat gun or hairdryer
- Clean microfiber cloth
- Automotive adhesive remover or rubbing alcohol
- Plastic scraper or credit card
- Masking tape (optional)
Clean the headlight
Use a microfiber cloth and a glass cleaner specifically designed for automotive use to remove any dirt and grime from the headlight. Ensure the surface is clean before proceeding.
Heat the tint film
Use a heat gun or hairdryer on a low setting to warm up the tint film on the headlight. Start by heating a corner or edge of the film to loosen the adhesive.
Peel off the tint film
Once the film is heated, begin peeling it off slowly. Start at the corner or edge where you applied heat and gradually work your way across the headlight. Pull the film at a low angle to minimize the risk of tearing it.
Remove any adhesive residue
After removing the tint film, there may be adhesive residue left on the headlight. Apply automotive adhesive remover or rubbing alcohol to a clean microfiber cloth and gently rub the residue until it dissolves.
- Alternatively, you can use a plastic scraper or credit card to carefully scrape off the residue. Be cautious not to scratch or damage the headlight surface.
Clean the headlight again
Once the adhesive residue is removed, clean the headlight with a mild automotive soap and water solution. Rinse thoroughly and dry it with a clean microfiber cloth.
Optional
Apply a protective coating: If desired, you can apply a protective coating or sealant specifically designed for headlights to enhance their appearance and protect them from UV damage.
DIY Method
Here is a DIY method you can follow to remove headlight tint film from your headlights:
Note: Before proceeding, ensure you have the necessary tools, and perform the removal process in a well-ventilated area.
Materials needed
- A bottle of adhesive remover or “oops” solution
- Sandpaper (1000 grit, 1500 grit, 2000 grit, and 3000 grit)
- Microfiber towels
- Automotive tape
- Wax
- Water
- Water
Prepare the Work Area
Open the hood of your vehicle and use automotive tape to mask off the surrounding areas to protect the paint from accidental damage during the process.
Spray Adhesive Remover or “Oops” Solution
Work on the tint removal in sections. Spray the adhesive remover or “oops” solution onto a small area of the tint film. Allow it to sit for about 5-10 seconds to penetrate the adhesive.
Rub and Remove Tint Film
Using a microfiber towel, start rubbing the sprayed area to loosen and remove the tint film. Be careful not to let the solution drip onto the paint of the vehicle. It’s advisable to have an extra towel to catch any drips and use cardboard to block any overspray from reaching other parts of the car.
Sand the Headlight Surface
Once you have successfully removed the tint film, it’s time to sand the headlight surface. Begin with the 800-grit sandpaper and sand the entire surface of the headlight for approximately 20 minutes. This step helps remove any remaining adhesive residue and ensures a smooth surface for further refinishing.
Clean the Headlight Surface
After sanding, dry the headlight surface with a towel. This will allow you to see any areas that need additional sanding. Proceed to use the next size of sandpaper (e.g., 1000 grit) and repeat the sanding process until you reach the finest grit (e.g., 3000 grit). This will result in a smooth and polished surface.
- Once the sanding is complete, clean the headlight surface thoroughly with water to remove any debris or residue.
Apply Wax
Apply wax to the headlight surface using a microfiber towel. This step helps restore shine and further protects the headlight from UV rays.
Note: It’s important to note that sanding the headlight surface will remove the UV protective layer. To restore this protection, you may consider applying a coat of automotive clear over the headlight. However, this process typically requires removing the headlight for better access, and professional assistance is recommended.
Always exercise caution and follow safety guidelines when working with chemicals, sandpaper, and automotive parts. If you are unsure or uncomfortable with the DIY approach, it’s advisable to seek professional assistance for headlight tint removal.
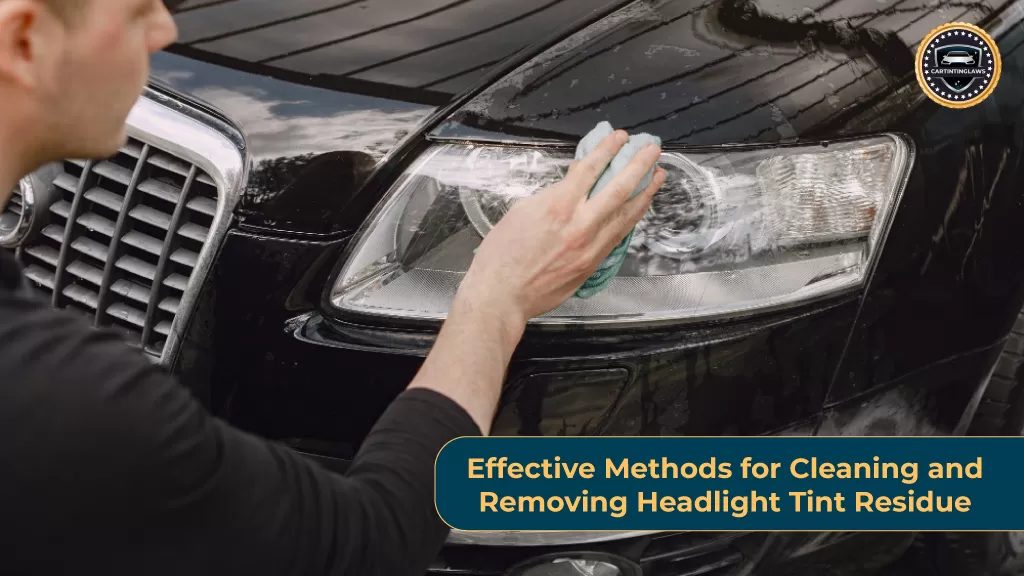
Effective Methods for Cleaning and Removing Headlight Tint Residue

When it comes to the final cleaning and removal of tinting from headlights, there are several effective methods you can employ. Here are some options to consider:
- Soap Solution: Prepare a solution of warm water and soap, and use a microfiber cloth or sponge to gently clean off the adhesive residue from the headlight. Rinse with clean water and dry thoroughly.
- Mild Steel Knife: Carefully scrape off the remaining adhesive using a mild steel knife. Be cautious not to scratch or damage the headlight surface while doing so.
- Gasoline or Kerosene: Apply a small amount of gasoline or kerosene to a clean cloth and gently rub the adhesive residue. Ensure proper ventilation and take necessary safety precautions when using flammable substances.
- Special Tools: Automotive stores offer specialized tools designed for adhesive removal. These tools can effectively remove tinting residue from headlights without causing any damage.
- Decal Remover or Bio-solvent: Consider using a decal remover or bio-solvent specifically formulated for adhesive removal. Follow the product instructions carefully for safe and effective use.
Note: It is important to avoid using solvents or harsh chemicals, as they can damage the upholstery, plastic parts, or your health. Stick to mild detergent solutions or glass cleaners for safe removal.
Remember to exercise caution during the process to avoid damage to the headlights. If you are uncertain about removing the tint yourself, it may be best to seek professional assistance.
FAQs
Will removing tint from headlights leave behind residue?
In some cases, removing tint from headlights may leave behind an adhesive residue. To effectively remove the residue, you can use an adhesive remover or rubbing alcohol and gently rub the affected areas.
Can I use a hairdryer instead of a heat gun to remove tint?
Yes, a hairdryer can be used as an alternative to a heat gun. Set the hairdryer to the highest heat setting and apply heat to the tinted area, making it more pliable and easier to peel off.
Will removing the tint from headlights damage the headlight lenses?
When done correctly, removing tint from headlights should not damage the headlight lenses. However, it is important to be gentle and avoid using abrasive materials or sharp objects that could scratch the lenses.
Can I use window tint removal products on headlights?
While some window tint removal products may be effective on headlights, it is crucial to check the compatibility of the product with the type of material used for the headlight lenses. Always follow the instructions provided by the manufacturer.
How long does it take to remove the tint from the headlights?
The time required to remove tint from headlights can vary depending on factors such as the type and condition of the tint, the tools and methods used, and your experience. Generally, it may take anywhere from 30 minutes to a few hours to complete the removal process.
Can I use a steam cleaner to remove the tint from the headlights?
Using a steam cleaner can be an effective method to soften the adhesive and facilitate the removal of tint from headlights. Ensure that the steam cleaner is held at a safe distance from the headlights to prevent any potential damage.
Will using a tint removal solution damage the headlights?
Using a tint removal solution specifically designed for headlights should not damage the lenses. However, it is important to follow the instructions carefully and avoid leaving the solution on for an extended period to prevent any potential damage.
Wrapping Up!
With the information and instructions provided in this article, you now have a clear knowledge of how to remove tint from headlights. By following the step-by-step process and using the right tools, you can restore the original clarity and brightness of your headlight. Remember to exercise caution, be patient, and take your time during the process to avoid any potential damage.
Enjoy improved visibility and renewed appearance as your headlights regain their shine. Get ready to hit the road with confidence, knowing that your headlights are performing at their best.
